


If you own a Electrolux freezer, you may run into issues with the fan. The fan is responsible for circulating cold air throughout the freezer, making sure that your food stays fresh and frozen. If your fan is not working right, you may need to swap it.
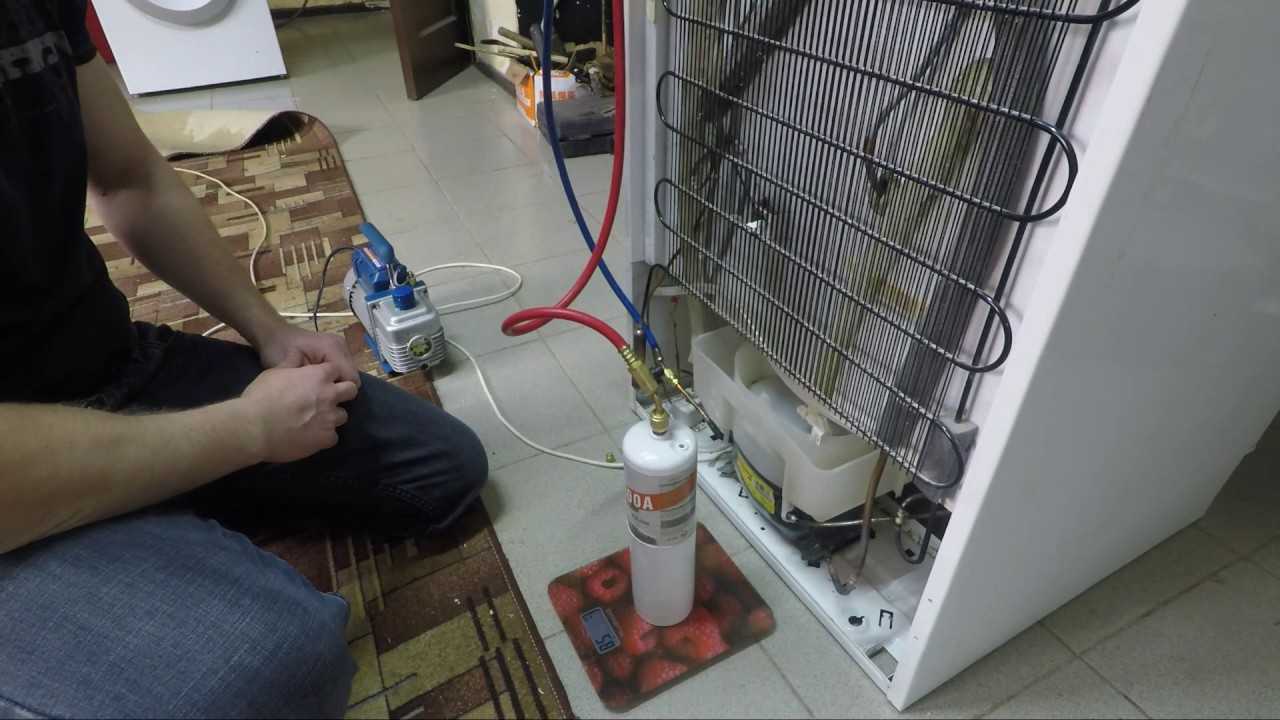
Changing the fan in your Electrolux freezer may seem daunting, but with our easy walkthrough, it’s a breeze. By following our step-by-step directions, you can ensure that your machine continues to run efficiently and has an extended lifespan.
Key Takeaways
- Changing the fan in your Electrolux freezer can help it run more smoothly and last longer
- Following a step-by-step instructions can make the process simple and stress-free
- Finding out the issue with your fan before replacing it is important
- Use caution when changing the fan to avoid damage to your appliance
- Consider swapping the fan motor if troubleshooting and swapping the fan itself do not solve the issue
Troubleshooting a Faulty Electrolux Freezer Fan
You rely on your Electrolux freezer to keep your food fresh and frozen, so it can be frustrating when the freezer fan stops working. If your Electrolux freezer fan is not working or won’t spin, don’t fret! Before you swap the fan, try troubleshooting the issue with these simple steps:
1. Inspect the Power Source
First, inspect the power source of your Electrolux freezer. Make sure the device is rightly plugged in and that the outlet is functioning rightly. If the power source is not the issue, move on to the next step.
2. Wipe the Fan Blades
If the fan blades are clogged with dust, the fan may not be able to spin rightly. Use a soft brush or cloth to gently clean the blades. Take care not to damage the blades or motor while cleaning. Once they are clean, inspect if the fan is working again.
3. Look at for Blockages
Next, check for any blockages or obstructions near the fan. Sometimes, food or other objects can inadvertently fall into the freezer and block the fan from spinning. Eliminate any blockages and try turning on the fan again.
4. Test the Fan Motor
If none of the above steps solve the problem, you may need to test the fan motor. You can do this by using a voltmeter to look at if the motor is receiving power. If the motor is not receiving any power, it may be a wiring issue or a problem with the control board.
If you still cannot fix the issue with your Electrolux freezer fan, it may be time to swap it. Follow the guidelines in the next section to replace the fan and ensure your machine runs efficiently.
Swapping the Electrolux Freezer Fan
If troubleshooting your Electrolux freezer fan has led you to conclude that changing is necessary, follow these step-by-step directions for a successful swapping. Keep in mind that safety should always be a top priority when working on any electrical device. Before starting, unplug your electrolux expert freezer and gather all necessary tools and substitute parts.
- Take out the freezer shelves and the cover plate: Start by removing the freezer shelves and any other obstructions that may hinder your access to the fan. Identify the cover plate and use a screwdriver to remove it carefully.
- Disconnect the fan wires: Identify the wires that connect the fan to the motor and disconnect them carefully. Some models may have a harness plug that you can detach instead.
- Remove the old fan: Once you have disconnected the wires, you can eliminate the old fan. It is usually secured by screws or clips that hold it in place. Use a screwdriver or pliers to prudently remove these while holding the fan to prevent any damage.
- Install the new fan: Once you have removed the old fan, you can install the new one. Follow the process in reverse order, securing the fan with screws or clips and linking the wires or harness plug.
- Test the new fan: Before reassembling your Electrolux freezer, test the new fan to make sure that it is functioning properly. Reconnect the power supply and turn on the freezer. Wait a few minutes to see if the fan is spinning properly and pushing out cold air.
- Reassemble the freezer: If the new fan is working correctly, put back together your Electrolux freezer by putting back the cover plate and shelves. Plug the machine back into the power source and test it again to ensure everything is working properly.
By following these easy steps, you can replace the fan in your Electrolux freezer with ease. Remember that if you encounter any complications or difficulties, it’s best to consult a professional technician to prevent any further damage to your appliance. With right care and maintenance, your Electrolux freezer will continue to run smoothly and serve you well for many years to come.
Changing the Electrolux Freezer Fan Motor
If troubleshooting and swapping the fan itself did not resolve the issue with your Electrolux freezer fan, you may need to change the motor. Although it may seem intimidating, with our step-by-step instructions, you can swap the motor with ease.
Step 1: Safety first
Before you begin, ensure that the freezer is unplugged and empty. It is also advisable to wear safety gloves as you will be working with electrical components.
Step 2: Find the fan motor
The fan motor is typically located behind the freezer’s back panel. To access it, take out the screws holding the panel in place and lift it off.
Step 3: Remove the fan blades
Once you have access to the motor, find the fan blades and carefully pull them off the shaft. It may be helpful to use a small amount of lubricant to the shaft to ease the process.
Step 4: Disconnect electrical connections
Using a pair of pliers, lightly disconnect the electrical links to the motor. Take note of which wires attach to which terminals as you will need to reattach them later.
Step 5: Take out the motor
Using a screwdriver, remove the screws holding the motor in place. Lightly pull the motor out of the freezer and discard it.
Step 6: Install the new motor
Take the new motor and insert it into the same position as the old one. Secure it in place with the screws you took out earlier.
Step 7: Reattach electrical connections
Reattach the electrical links to the new motor. Refer to the notes you took earlier to make sure that the wires are linked to the correct terminals.
Step 8: Reattach fan blades
Slide the fan blades back onto the shaft and ensure that they are secured in place.
Step 9: Reattach the back panel
Reattach the back panel of the freezer with the screws you removed earlier.
Step 10: Plug in the freezer and test
Plug in the freezer, turn it on, and make sure that the fan motor is functioning rightly. Once you have verified that the fan is working, you can put back the food items back into your freezer.
Conclusion
Well done! You have successfully replaced the fan in your Electrolux freezer. By following our simple instructions, you have ensured that your machine will continue to run smoothly and have an extended lifespan.
Remember to troubleshoot the issue before proceeding with the swapping and prudently follow the step-by-step directions. With a properly functioning fan, your Electrolux freezer will operate as good as new.
If the issue with your Electrolux freezer fan is related to the motor, we have provided directions on how to swap it in section 4. Don’t forget, regular maintenance can help prevent future issues.
Thank you for choosing our instructions to swap the fan in your Electrolux freezer. We hope it was helpful and informative.